In this post, we are going to learn about How to Install Java on Windows and Mac OS. For doing so you have to follow the below step:
Hope you have read the Introduction to Java and Java Virtual Machine.
1. How to Install Java on Windows:
Step 1. Go to the link and download JDK(Java Development Kit) for your computer.
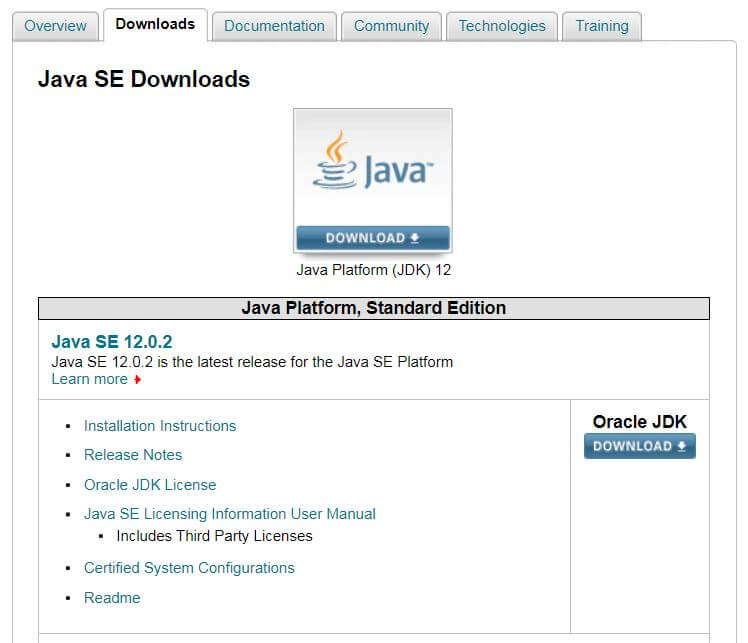
You can have multiple versions of JDK installed on your PC but installing the latest version of Java is recommended.
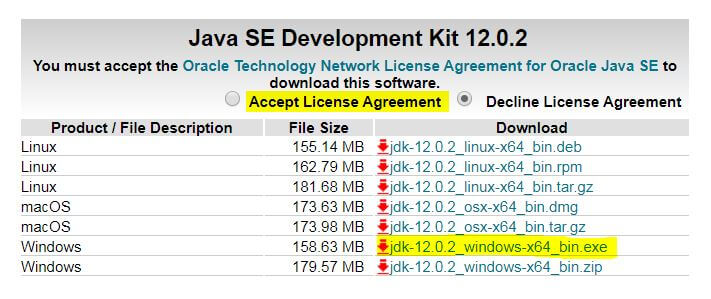
Step 2. After that,
- Accept the Licence Agreement.
- Click on the download link.
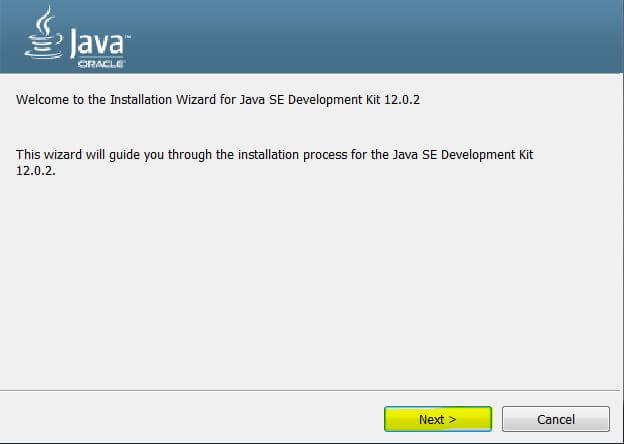
Step 3. Run the downloaded .exe file to install Java.
1.2. Set the Environmental Variable.
You should ask why we have to set these variables because running without environmental variable is like giving the actual path of the Java Tools (javac, java) which is very hectic. So, we need some generic variables in our system.
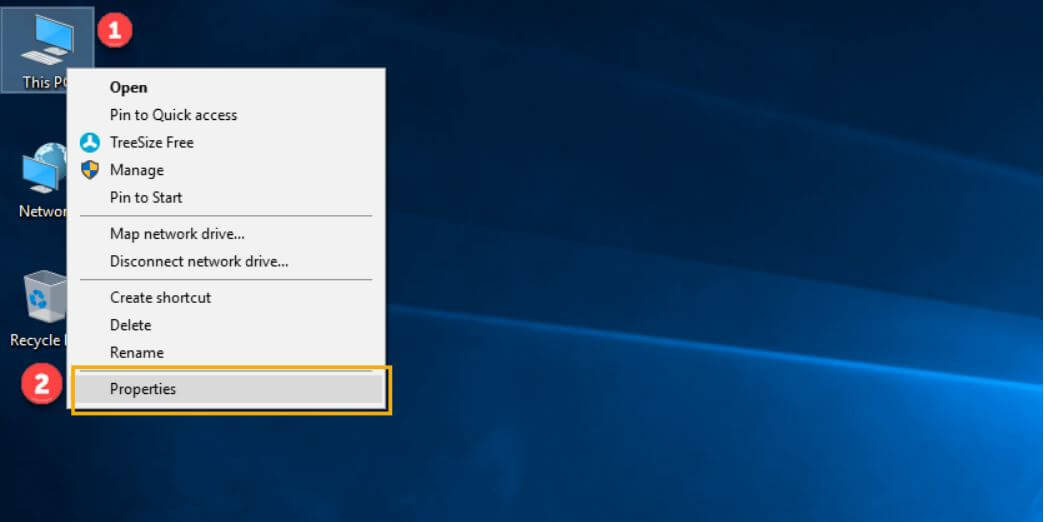
Step 1. Right-click on My Computer and select the Properties.
Step 2. Click on Advanced system settings.

Step 3. Click on Environmental Variables.
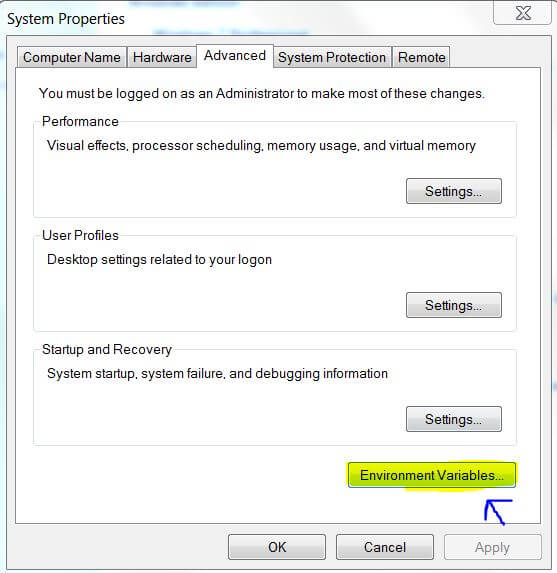
Step 4. Under the System Variables, Click on path field.
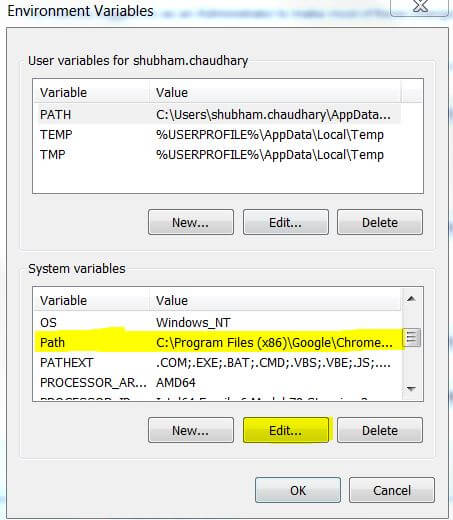
Step 5. Copy the path of the bin folder where JDK is installed.
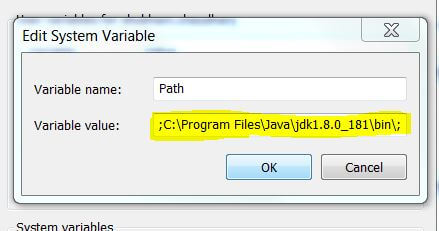
In most of the cases, it is installed under C:\Program Files\Java\{jdk-version}\bin
Step 6. Click on the path and click on edit and append/edit in the variable value
Don’t forget to put SEMICOLON before your path.
Step 7. After that,
- Exit the Settings.
- Press Window + R key.
- Type – cmd
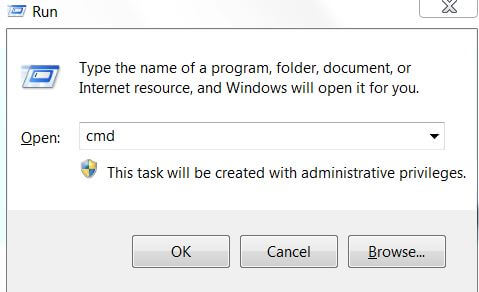
Step 8. Type java

You’ll see Java Option listed in your Command-Line.
CONGRATULATIONS JAVA HAS BEEN INSTALLED
Step 8. We will run our First Java Program in the Next Step.
2. How to Install Java on Mac OS:
Installing Java on macOS in pretty much easier than windows. You need to follow the simple 3 steps.
Step 1. Go to the link and download JDK(Java Development Kit) for your macOS.
Step 2. After that,
- Accept the Licence Agreement.
- Click on the download link.

This time you have to download JDK for macOS (.dmg) file.
Step 3. Click on the downloaded file.
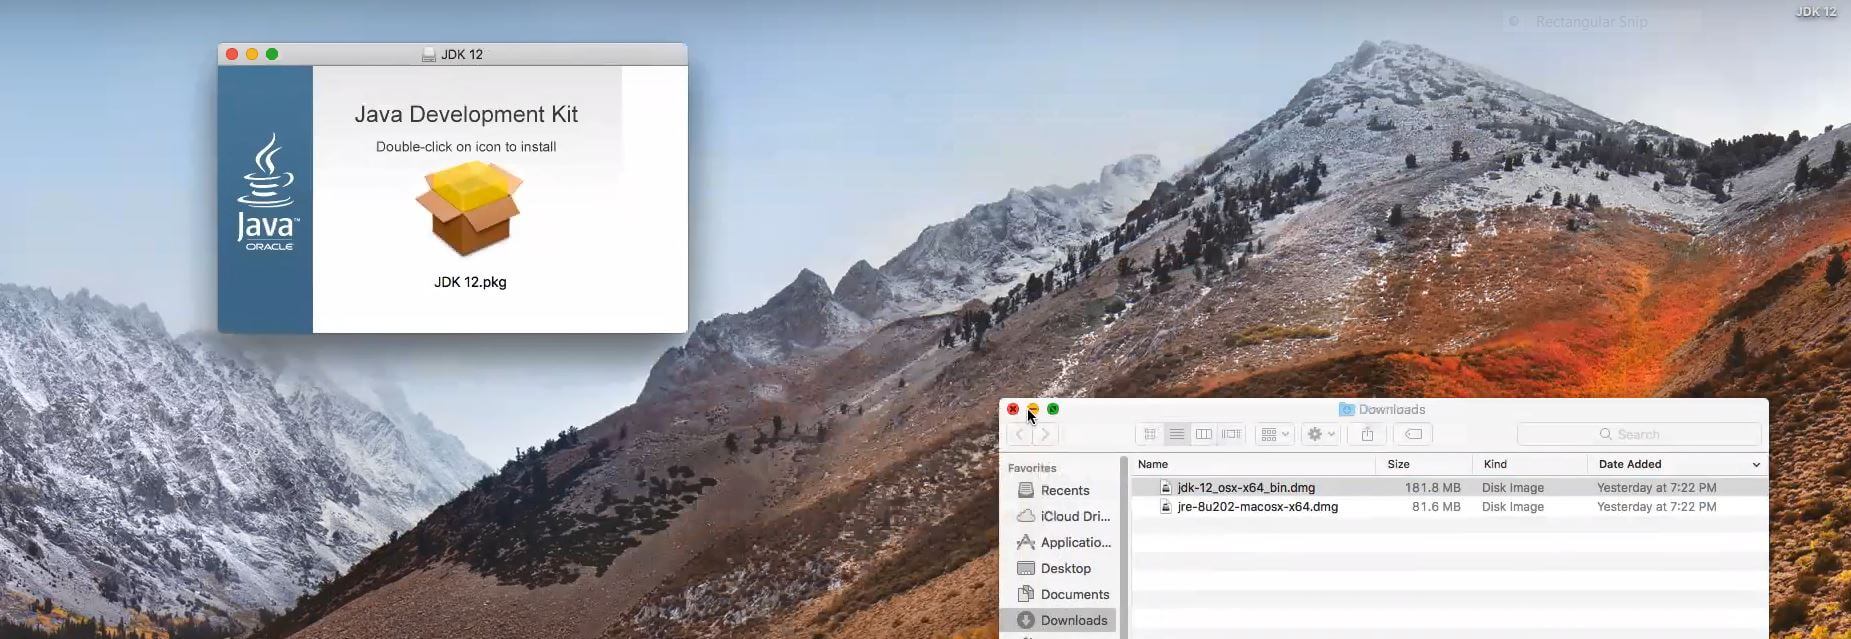
Step 4. Click Install, After that Java, will be installed
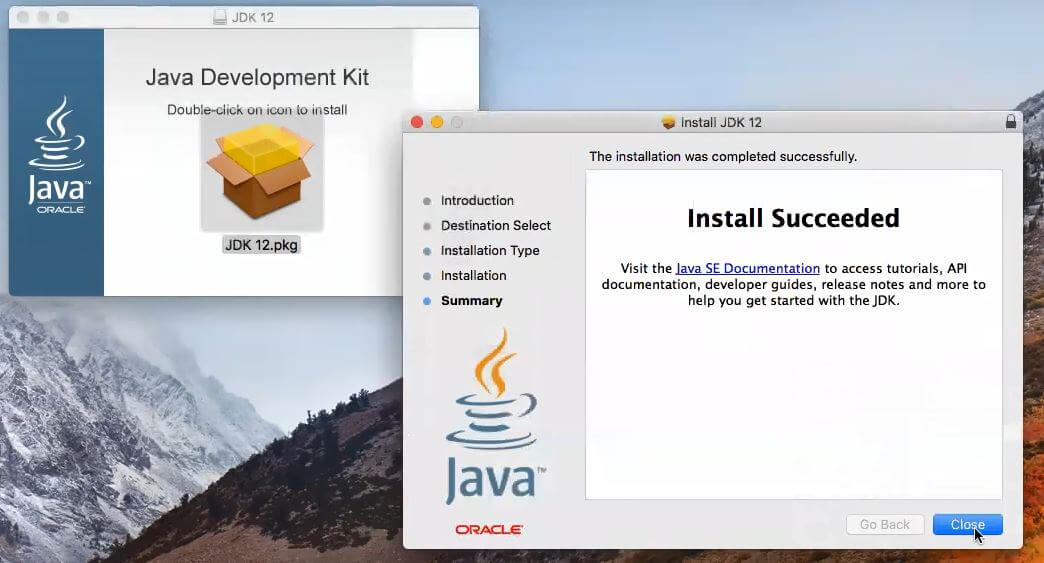
Step 5: Open Terminal, and Type
java –version
I hope you learnt how to install java. Now, after installing Java successfully, learn how to write your first java program.