In this chapter, we are going to look at How to Setup JSP in Eclipse. Let’s see some prerequisite.
- Java Development Kit (JDK)
- Tomcat Server
- Eclipse IDE
1. Setup Java Development Kit
Before running any JSP application in eclipse we first need to install JDK that will help us to run and deploy our JSP application and Tomcat Server.
I have written a comprehensive guide on how to install Java. Please click below and install Java in just 5 simple steps:
2. Setup Tomcat Server
After installing JDK, We’ll need to setup tomcat server now in order to deploy or run our JSP application.
I have written a comprehensive guide on how to install Tomcat Server. Please click below and install Tomcat Server:
3. Setup Dynamic Web Project
Now after setting up JDK and Apache Tomcat, its time to configure JSP with Eclipse and Run our first JSP program.
Visit and Install Eclipse from this link. After installing eclipse follow below steps:
Step 1: Press “Ctrl+N” and Search for “Dynamic Web Project“. Hit the Next button then

Step 2: Write your project name and preferred lcoation.

Now Hit enter and your Dynamic Web Project is ready, similar to below image:

Step3: Add JSP File
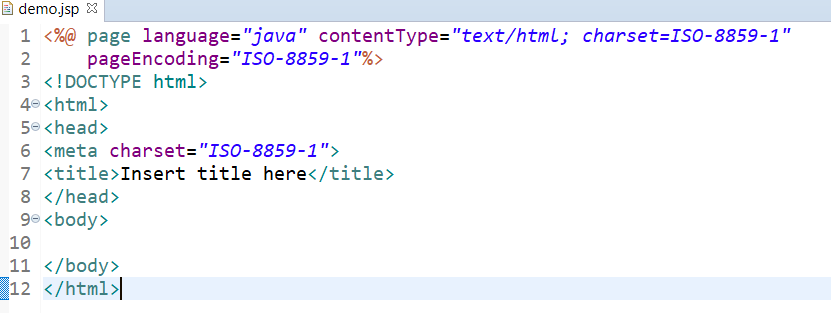
Now, right click on “WebContent” and select “New JSP File”. Enter your file name and you’ll get predefined template as below:

JSP file is created. Now let’s add some code in this file.

4. Setup and Start Tomcat Server
Now its time to setup Tomcat Server. Therefore, follow below steps:
Step 1: Click on Windows -> Show Views -> Servers

Step2: Now right click and choose server:

Select Tomcat Server Version which you installed earlier and hit Finish.
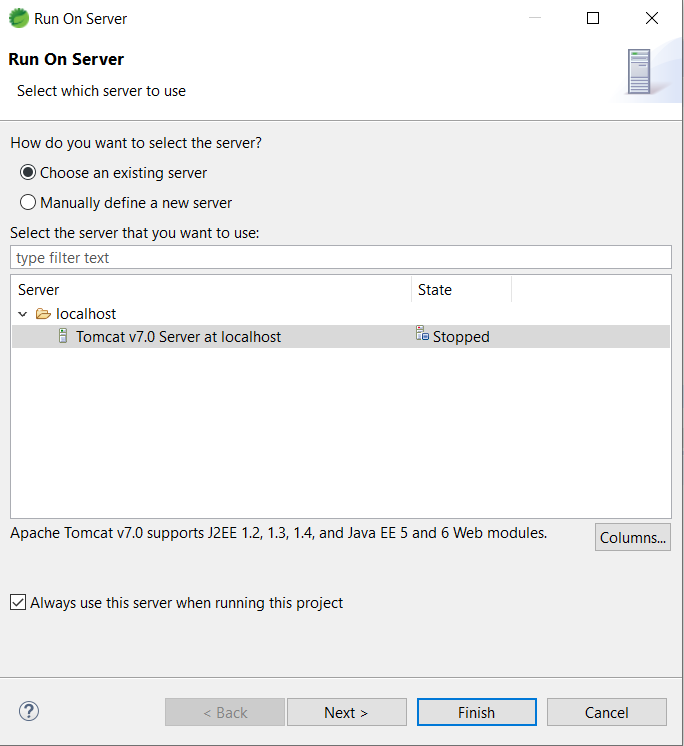
Step 3: Now Right click on your JSP file and Select Run -> Run As Server

Next,

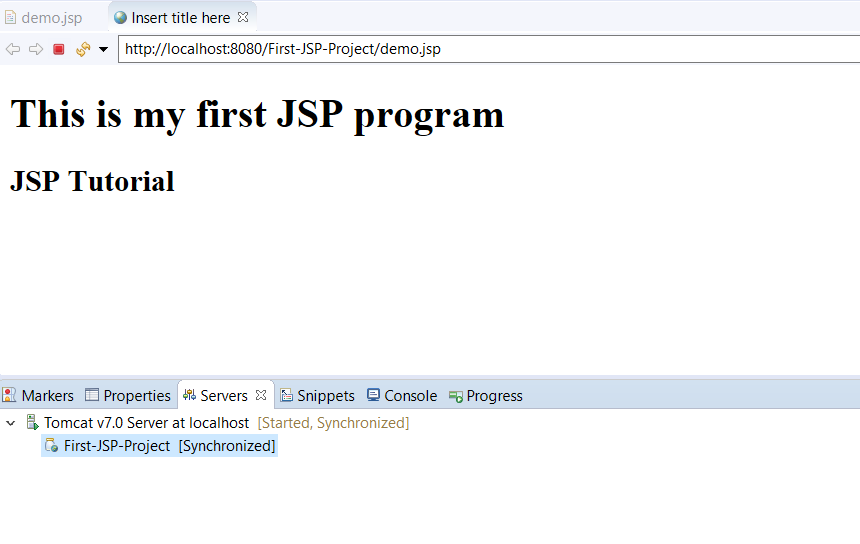
Now Tomcat Server will be started and you’ll see your output in browser window:

Congratulations. Your First Program is successfully runnning and setup of tomcat server and JSP in eclipse is also successfull.
Navigate to next chapter in order to learn more about Java Server Pages.